
Inline booth
A frontage facing one aisle is useful for a straightforward display. Place the main message where it can be seen past the counter and leave enough room for visitors to step inside. Confirm which walls and fascia the organiser supplies.
Compare 3 × 3 m shell-scheme booths, corner layouts and connected bays for Malaysian exhibitions. Check what the organiser supplies before quoting graphics and upgrades.
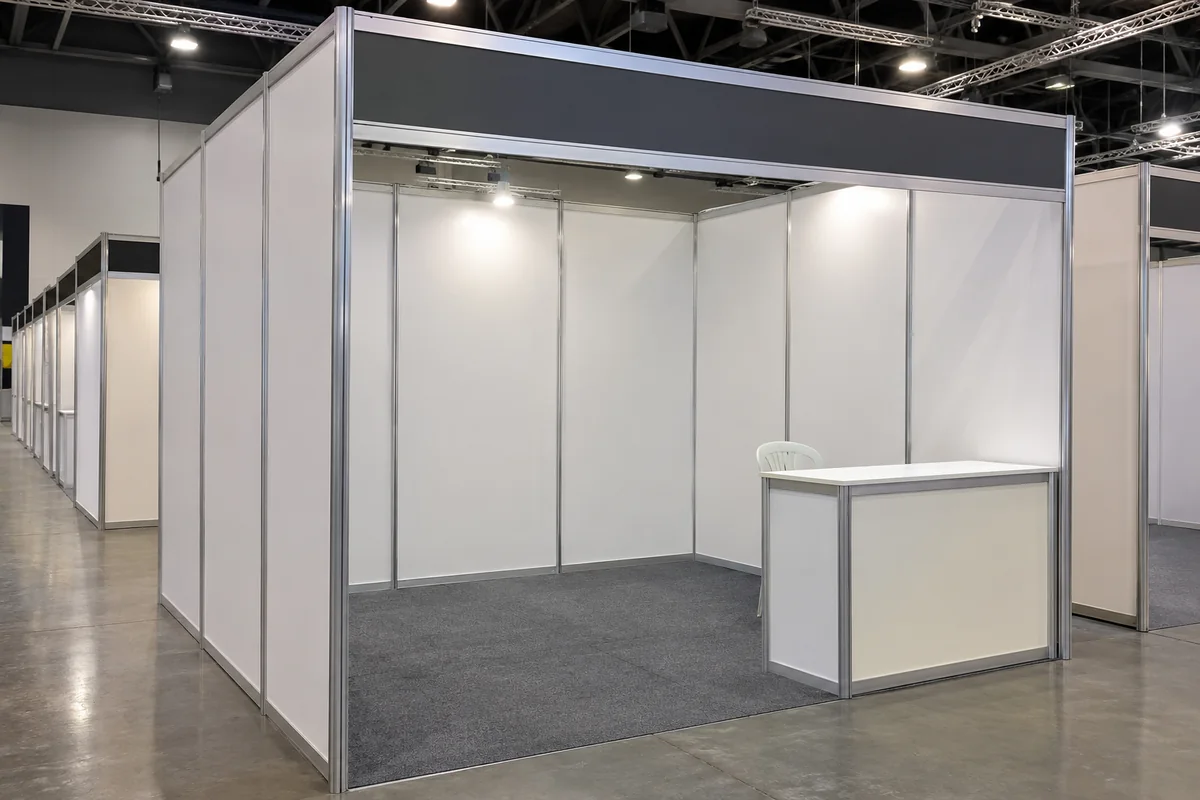
The recorded booth footprint includes the frame. Have the approved contractor or organiser confirm usable panel widths and heights, exposed posts, seams and the agreed fixing and removal method. Keep artwork details away from seams or trims. For a screen, heavy artwork or shelving, ask which support arrangement the event permits.
Ask which event items must be booked with the organiser or official contractor, including electrical provision and any required approvals. Confirm submission, artwork and service-order cutoffs, move-in and dismantling times, loading access and the method for returning the shell in good condition.
A 3 × 3 m corner booth has 9 m² of nominal floor area. Sketch which two sides face the aisles. Put a small counter to one side, locate the demonstration against a supplied wall and leave room for two visitors to step inside. If a stock cupboard would block entry, compare a compact lockable counter or an approved off-booth storage option.
Build a comparison with three columns on your own checklist: already included, order through organiser and quote separately. Check shell walls, carpet, fascia, sockets, lighting and furniture first. Then compare graphics printing and fitting, demo supports, storage, delivery, removal and any cleaning or reinstatement charge.
Shell-scheme booths
Illustrative setup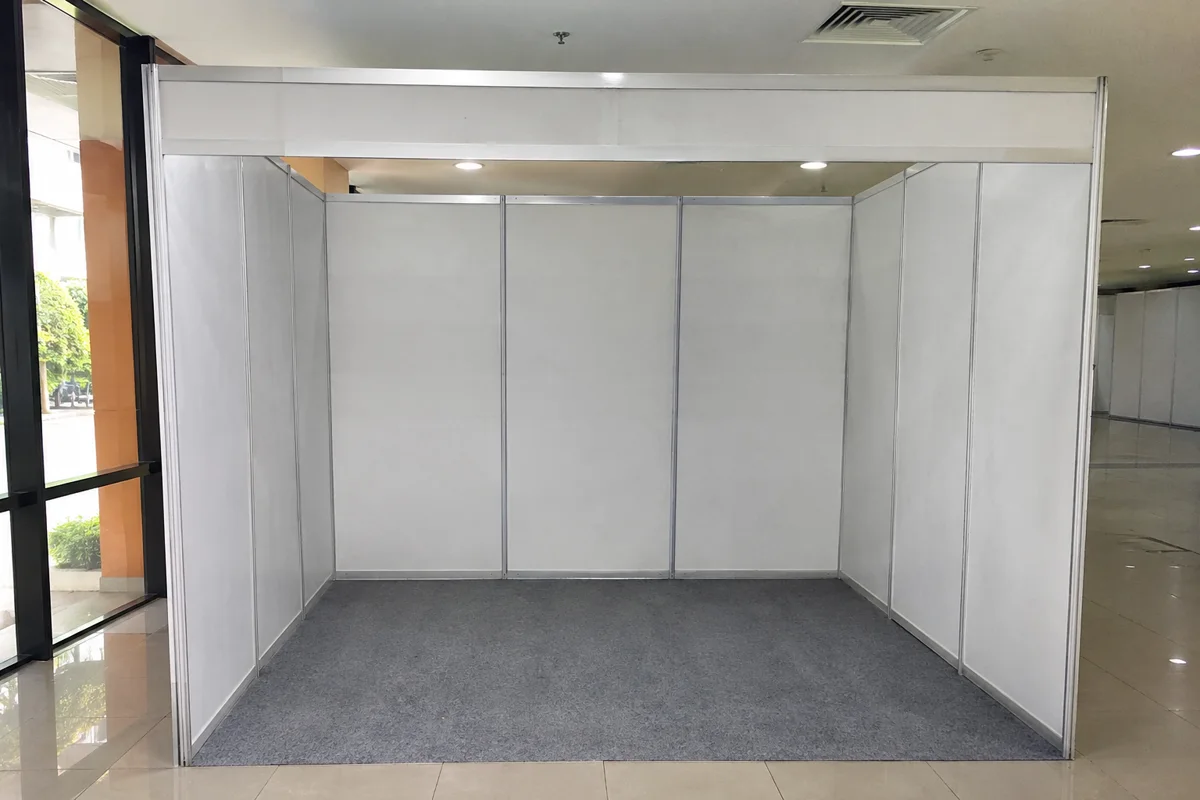
MITEC
Illustrative setup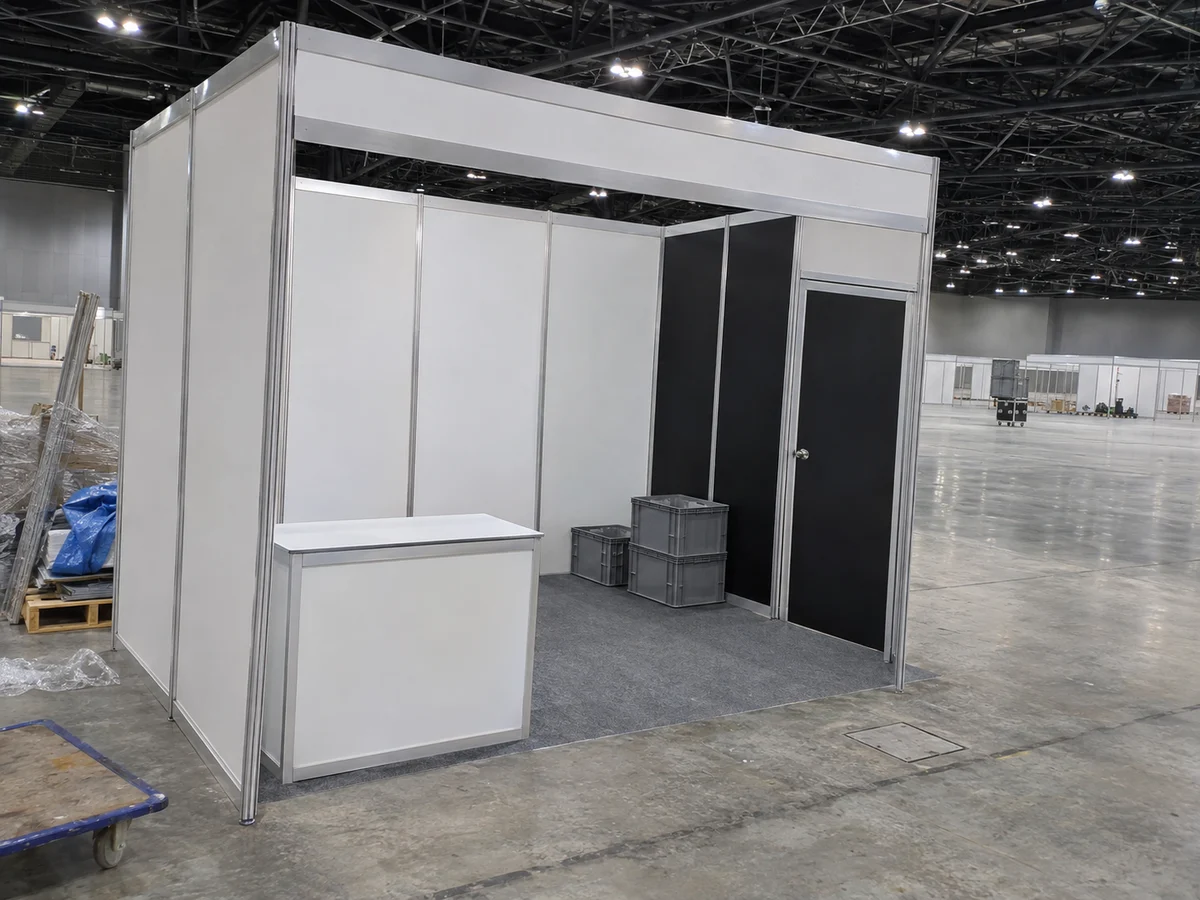
Use a return panel behind the counter for boxed stock. Mark the open aisle, delivery window and wall height on the exhibition plan.
Custom and modular boothsShell-scheme booths
Illustrative setup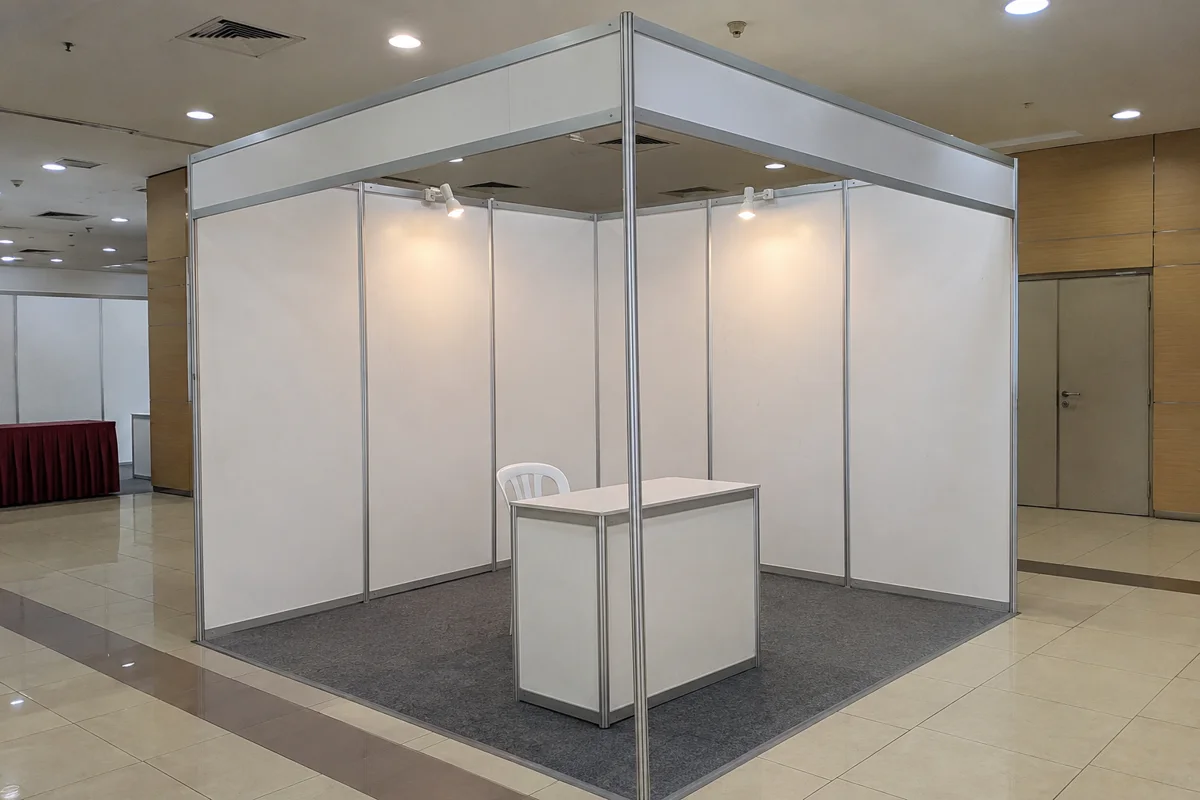
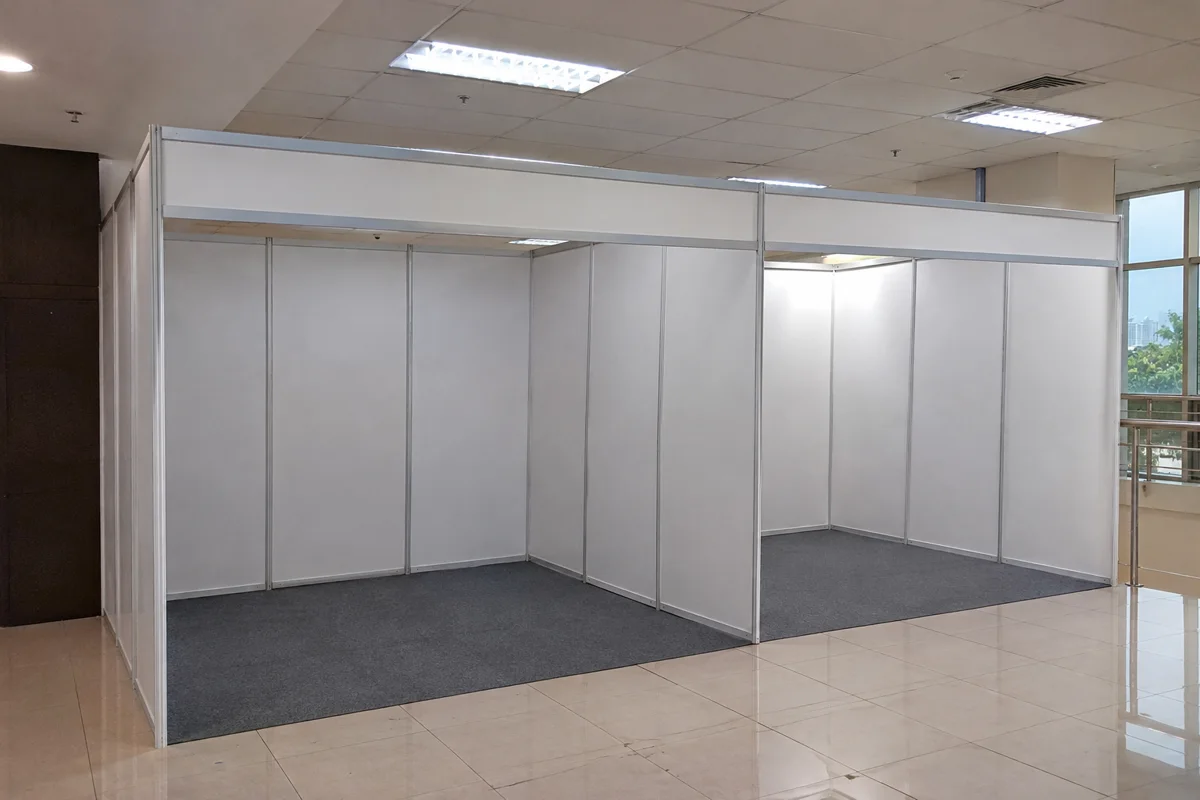
The organiser determines what the booth includes. Confirm partitions, carpet, fascia, furniture, lighting and power for your event before adding items.
Yes. List what the organiser has included and quote the additions you need. Confirm the approved graphics fixing method and whether any furniture or electrical order must go through the official contractor.
Ask for the actual visible panel dimensions and the printer’s artwork requirements. Mark panel joints and leave space around important text. The overall 3 × 3 m floor size does not provide the artwork dimensions.
Check the approved floor plan and ask the organiser which partition lines can be removed. Confirm remaining posts and fascia before designing a continuous graphics run or placing the main display.
Confirm organiser-provided items and deadlines first, then reserve mandatory electrical or approval services through the specified channel. Arrange graphics, furniture and storage once the layout and usable panel dimensions are confirmed.
Plan additional booth walls, fascia, printed panel inserts, stretch-fabric graphics or a lightbox.
Plan a booth for your display using modular frames or a custom panel layout in raw space.
Create a screened stock area, staff room or short-meeting space within the booth boundary.
Estimate the wall length for a straight run, corner, U-shaped layout or four-sided room. Add the dimensions to your quote brief.
Compare what office partition, temporary event room and exhibition booth quotes cover. Use the checklists to prepare a clear scope.
Start with the location, rough measurements and the date you need the space ready.